Thomas Walford
Welcome to my site where I put some of the things I make. Here they are, enjoy :)
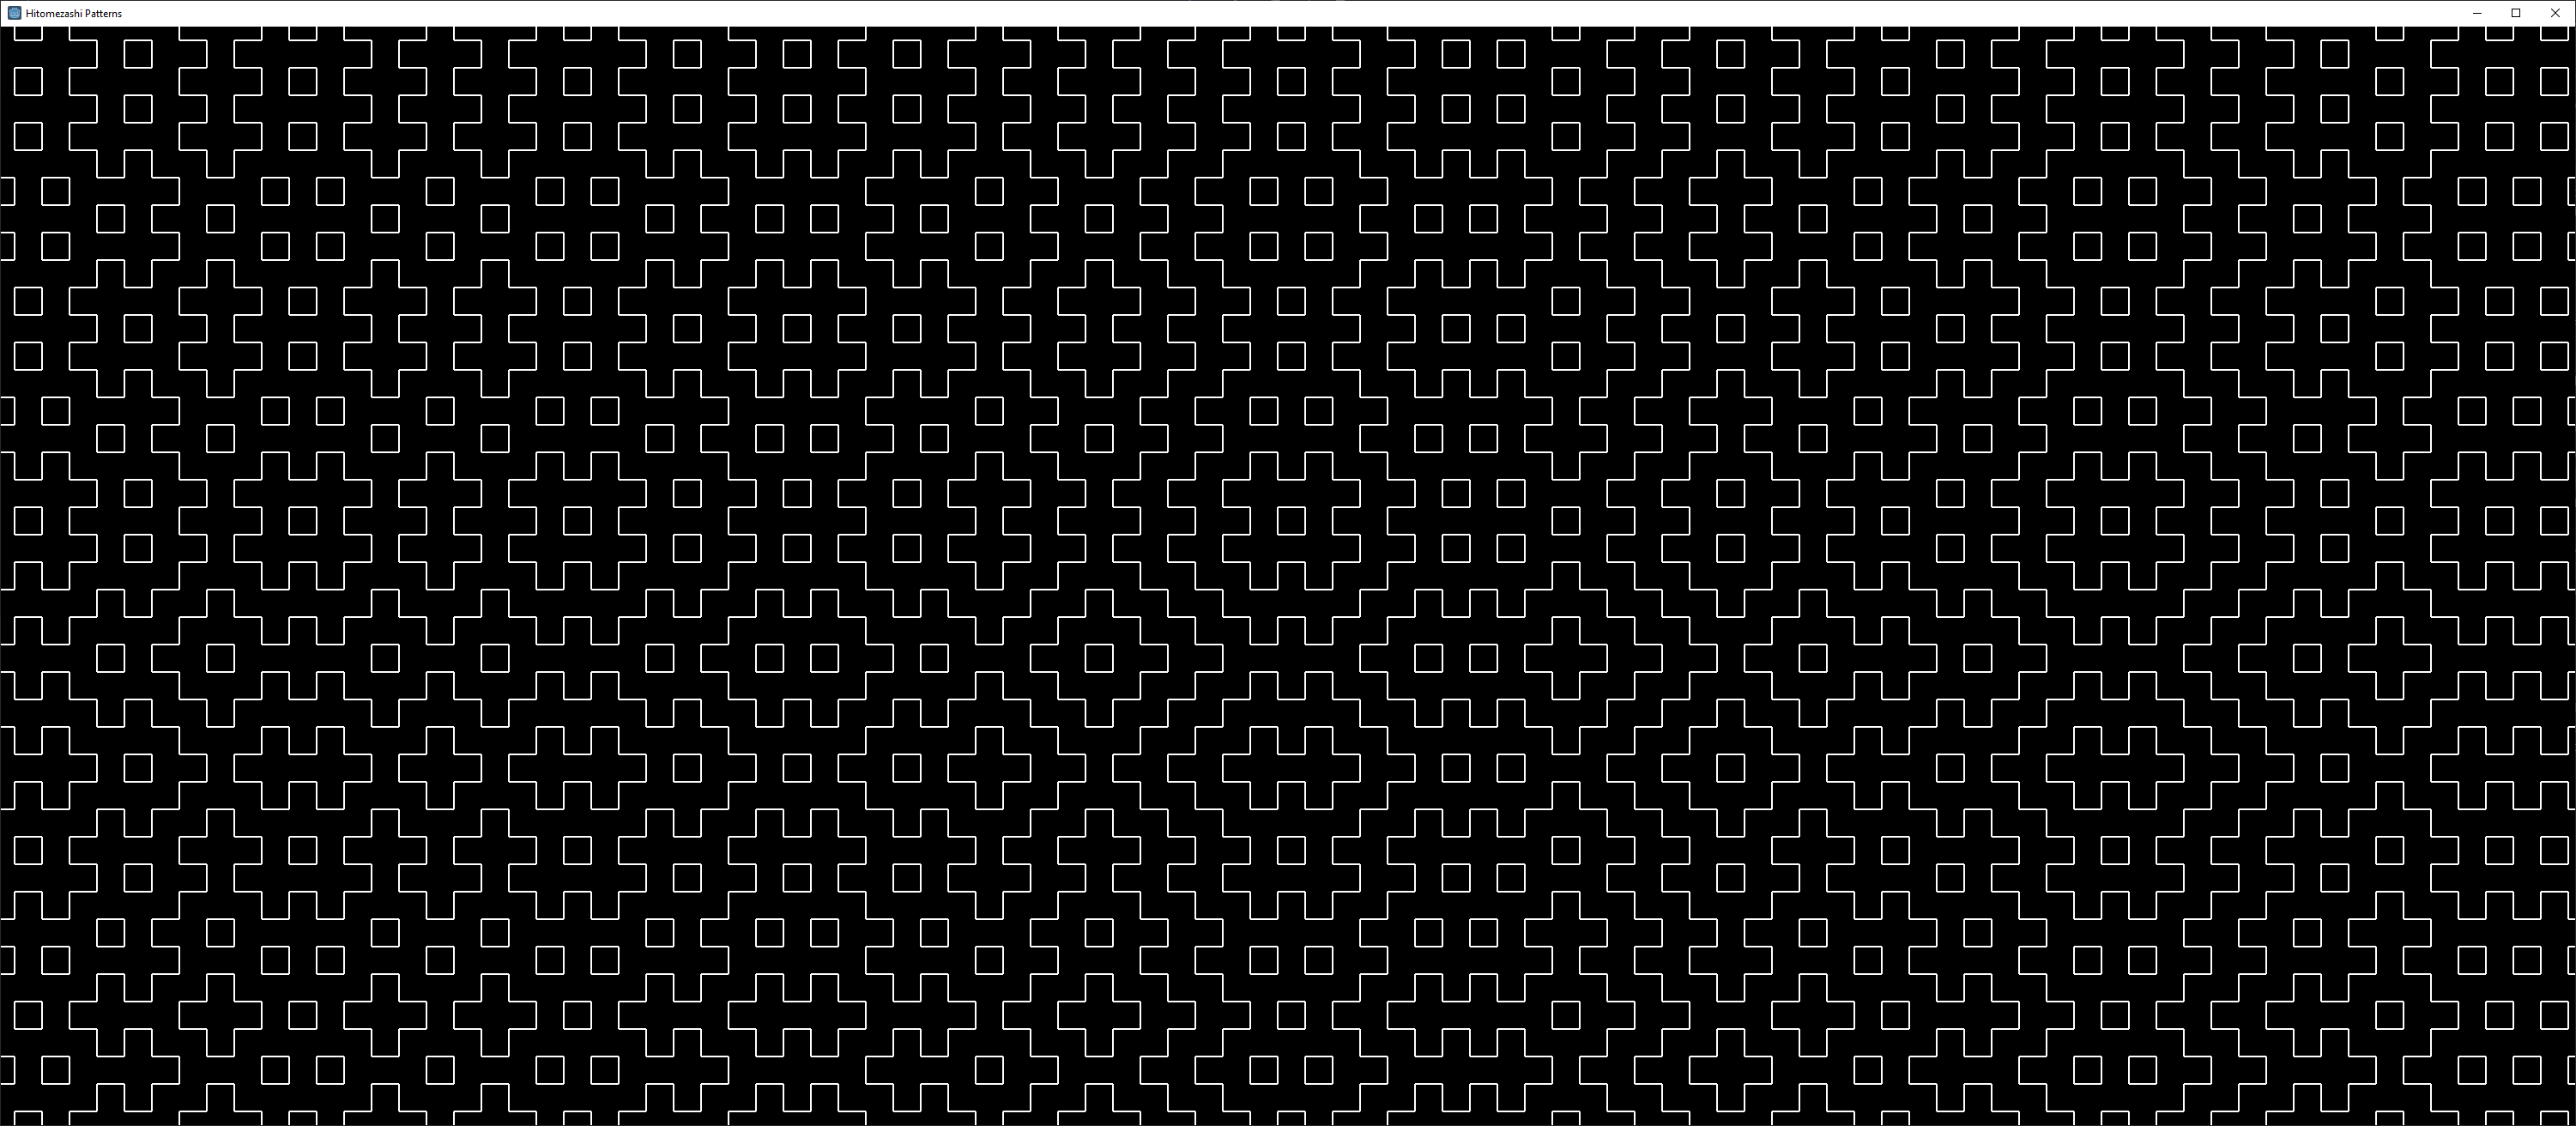
Hitomezashi Stitch Pattern Generator
Using Godot Engine, I wrote up some code to generate some neat patterns.
#horizontal pass
#Ranges from y = 0-grid_padding, to y = grid_height, with a step interval of grid_spacing
for y in range(0-grid_padding, grid_height, grid_spacing):

	#Sets up the random offset that this row will have, it will be either 0 or grid_spacing
	var offset = randi()%2 * grid_spacing-grid_padding

	#Ranges from x = offset, to x = grid_width, with a step interval of grid_spacing*2
	#Multiplying grid_spacing by 2 because we need step over the line AND the gap afterwards.
	for x in range(offset, grid_width, grid_spacing*2):

		#Draws a horizontal line (y stays the same) of the length of the grid space
		#Color is white and width is 2px
		draw_line(Vector2(x,y), Vector2(x+grid_spacing,y), Color(1,1,1), 2)

#vertical pass
for x in range(0-grid_padding, grid_width, grid_spacing):
	var offset = randi()%2 * grid_spacing-grid_padding
	for y in range(offset, grid_height, grid_spacing*2):
		draw_line(Vector2(x,y), Vector2(x,y+grid_spacing), Color(1,1,1), 2)
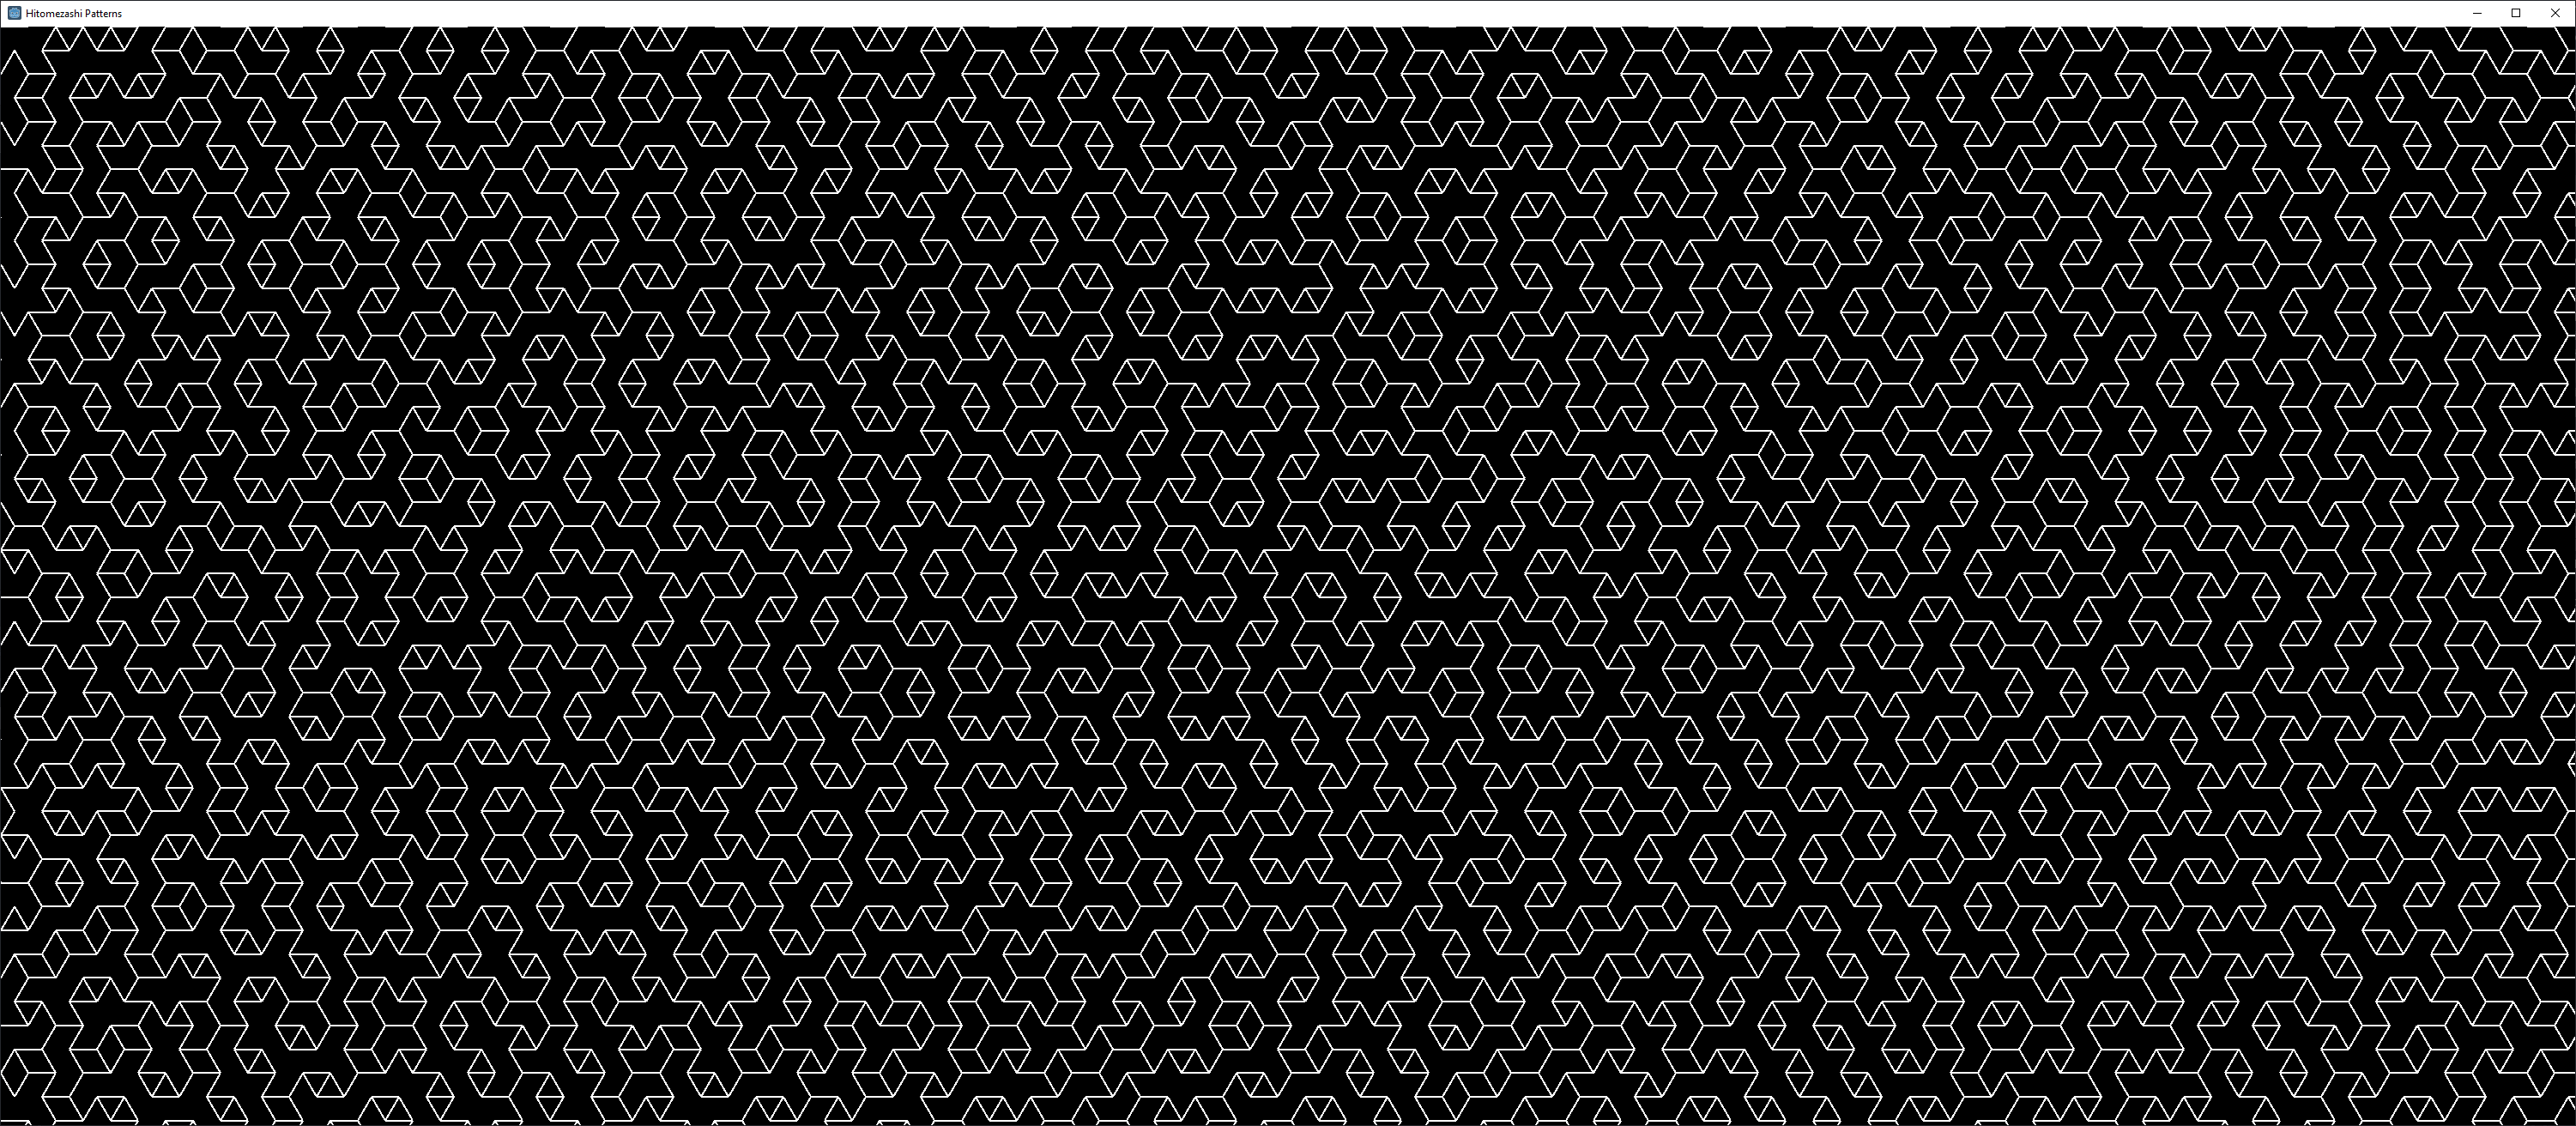
 And here is my attempt to generate a 3-axis version
#Horizontal pass
#The outer loop uses a while loop because Range only works with integers and i'll be using floats.

#A bool which will flip every loop
var use_spacer = false

#From j = 0, to grid height
var j = 0
while (j < grid_height):

	#Every second row will need to use this spacer offset
	var spacer = grid_spacing/2

	#Sets up the random offset that this row will have, it will be either 0 or grid_spacing
	var offset = randi()%2 * grid_spacing

	#Ranges from the start of each row using the spacer and offset
	#casting use_spacer from bool to an integer thats either 0 or 1
	for n in range((int(use_spacer)*spacer)+offset, grid_width, grid_spacing*2):

		#Draws a horizontal line (j stays the same) of the length of the grid space
		#Color is white and width is 2px
		draw_line(Vector2(n,j), Vector2(n+grid_spacing,j), Color(1,1,1), 2)

	#The next row will be sin(60) (approximately 0.866) of a unit lower
	j = j + sine_60*grid_spacing

	#flip the bool
	use_spacer = !use_spacer

#backslash pass
#I had to hardcode some values here using trial and error
#We start from just outside top right of the screen making sure that x is a multiple of the grid_spacing
#Range from the right side and much past the left side as we will be drawing at an angle and want to cover the whole window
for i in range(3008,-800,-grid_spacing):

	#Set up the random offset
	var offset = randi()%2 * grid_spacing

	#As we are drawing diagonal lines, both x and y will be constantly changing
	#x starts from i plus its offset if active
	var x = i + cosine_60*offset

	#y starts from 0 plus its offset if active
	var y = sine_60*offset

	#Until y reaches the bottom of the window
	while(y < grid_height):

		#Draw the diagonal line
		#If x,y are 0,0. The line goes to cos(60),sin(60)
		draw_line(Vector2(x,y), Vector2(x+cosine_60*grid_spacing,y+sine_60*grid_spacing),Color(1,1,1),2)

		#The amount x increases is cos(60) or 0.5 of the grid_space
		x = x + cosine_60*grid_spacing*2

		#The amount y increases is sin(60) or about 0.866 of the grid_space
		y = y + sine_60*grid_spacing*2

#Forward slash pass
#Flip the logic of the x direction and its much the same
for i in range(0,grid_width+800,grid_spacing):
	var offset = randi()%2 * grid_spacing
	var x = i - cosine_60*offset
	var y = sine_60*offset
	while(y < grid_height):
		draw_line(Vector2(x,y), Vector2(x-cosine_60*grid_spacing,y+sine_60*grid_spacing),Color(1,1,1),2)
		x = x - cosine_60*grid_spacing*2
		y = y + sine_60*grid_spacing*2
Programming with OLC (C++)
“OLC” a.k.a Javidx9 is the creator of a small opensource engine written in C++ called olcPixelGameEngine. I have been following along with his development of the engine and creating some projects of my own with it.
olcEyes
This is a proof of concept main menu of a video game where the eyes follow the cursor around the screen and shimmer.
The eye is split into three parts:
- The eye socket
- The iris
- The pupil
The socket stays still while the iris and pupil move in relation to the cursor. The iris and pupil are seperated because I wanted them to move at slightly different amounts to give a sublte 3D effect. All three parts are represented as a 2D array of floats. The shimmering effect comes from a sine function of the elapsed time of the program combined with a randon number generator that sets the size of each square on every frame.
olcDungeon
olcDungeon was my attempt to clone Redungeon - an endless action platformer game published by nitrome. The aim of the game is to progress forward as far as you can without falling off the platforms and into the darkness below. The game generates a path of dungeon modules for the player to navigate: some containing walls to walk around, ice to slide across, fire to avoid, and portals to teleport to. Below is an example of gameplay at its current state.
Much like any other video game in existence, I needed a testing level during development where I could test of all of the implemented features and tiles. On the left side of the level you can see the WEAK GROUND that starts to fall apart when the player stands on it. Directly next to that are the different coloured portals which are one-way teleports. In the middle there are pots of gold which crack and then break when the player runs into them. That is how the player collects coins (which serve no purpose in my clone). There is also a WEB tile which if the player steps onto, requires them to press a random sequence of keys to escape.
This game was the most complicated project I had attempted so far (at the time) and it required me to also make a level editor. To make this level editor I repurposed a sprite editor also made by Javidx9 in the same engine. I transformed this sprite editor into a DUNGEON MODULE editor and created my own file type .dumo (short for Dungeon Module). The editor allows the user to load and save these .dumo files to disk with the F9 and F10 keys. The user can edit the modules by selecting a tile type and placing it in the module. Here is an example.
The tiles are selected using number keys 1 to 9. There are more than 9 tiles, so I split them into tabs or “sets” which can be selected with keys F1 to F4 as seen below. Notice the 4 dots in the top left representing the tabs.
I also had to implement a way to make the module larger or smaller by deleting and inserting rows/columns. To do this the user can press C to activate cropping mode, in which a line of red boxes will appear. The orientation is changed with V and the user can insert on the green side with the Insert key, and delete the highlighted row/column with, you guessed it, the Delete key.
olcGuiDemo
This was a one-day project with the aim to create a window interface system with the following features:
- Ability to create and delete windows.
- Ability to drag windows.
- Ability to resize windows.
- Ability to pan all windows with the background.
- Ability to select a window and bring it to the front.
I was able to program all of the above and below is the result

I added a bonus feature that shows green lines on the edge of the screen when a window is dragged or panned out of sight.
Nonogram Solver
Nonograms are puzzles with number clues on the sides of a grid which indicate specific squares. When coloured correctly they reveal a picture. I attempted to create a program to help solve the puzzles in the same way that I would by hand. The resulting program acts like a regular nonogram program where the user can solve like normal. Usage of my program are as follows:
- Left click to fill in a square.
- Right click to mark a dot.
- Same click again to remove either of the above.
- Press C to solve trivial columns
- Press X to solve trivial rows.
- Press R to reset.
Puzzles clues are loaded by .txt files in the program directory. Currently the filename is hardcoded into the program. The clue file for the puzzle above looks like this:
<cols>
4
6
1,4,1
7,4
15
8
5
5
5
5,1
5,2
9
9
8
4
<rows>
1
2
4
2,2,1
5,1
6,2
15
13
10
10
10
3,3
3,3
2,3
3,4
Tetris
When Javidx9 released his new engine, I thought it would be a great idea to recreate his windows console tetris into a nice and colourful version. Here is his version which I started with.
And here is my finished version including:
- Can see what the next piece is.
- Can hold a piece.
- Shows a ghost block.
More projects
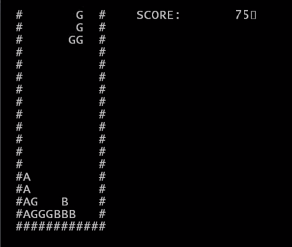
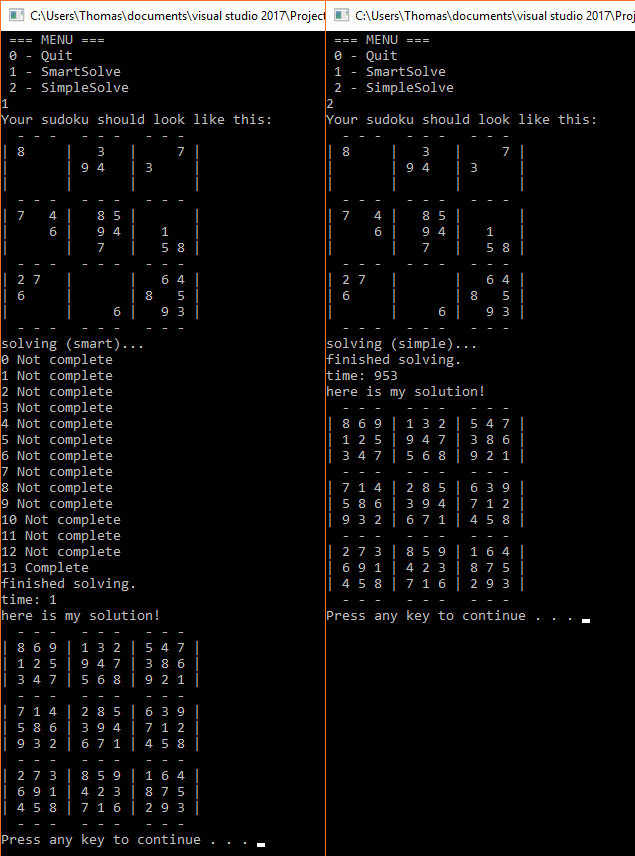
Sudoku Solver (C++)
I wrote this solver in 2017. It has two possible methods of solving - Logically(smart) and Brute Force(simple).
PNN Bot
PNN bot was one of my assignments for University where we had to develop an A.I to complete a game made by the professor.
The aim of the game is to have the monster (green character) reach the princess (red character) while expending the least amount of health points. The blue characters are randomly placed rocks which the monster can choose to either eat them or go around them.
The monster has access to the level data, including a list of spawn points for the princess and locations of walls (but not rocks). It keeps track with its own version of the playing field and uses both Breadth First Search and a modified A* Search Algorithm to queue a combination of turns and forward steps to reach its target. As the monster moves it can “look” a certain distance (depending on the level) to uncover the fog and reveal any rocks that might be there.
We were provided three levels in increasing difficulty to test our A.I on. The final test of the assignment was having all the student’s A.Is compete for the title of most efficient. My bot placed 4th in the class of about 20 students, me and the three students above were all within 1% of each other.
Here is my A.Is performance in real-time on a 3.4ghz i7 cpu.
Easy

Medium

Hard
Projects in python
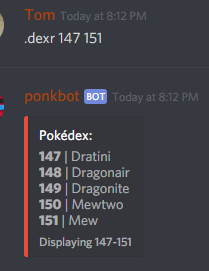
Discord Bot
The bot started off as a pokedex (a list of all pokemon) for a discord server of three people. You would give the bot a number range and it would give you back the pokemon IDs within that range.
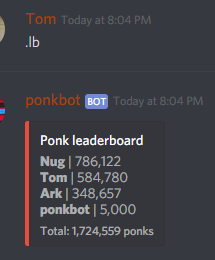
It was a simple idea and it worked well enough for us. We quickly grew bored of the pokemon and I started adding commands that would send back gifs and images and text/emojis for our inside jokes. One way to describe it would be a filing cabinet of memes. I added a scoring/currency system Ponks which we could trade with one another and we could see how many we saved up with the leaderboard.
Every gif-producing command would cost a certain amount of Ponks and the bot would receive them in a transaction. We needed a way to get the currency back so I added a Pinata event that would trigger once the bot had reach a certain amount. It required all members to use the .smack command, dropping a random percentage of Ponks on the ground with every wave of smacks.
Other features of the bot include:
- Note system:
- Add a note to the system.
- Ask the bot to pick a random note.
- Purge (snap) half the notes.
- Oxford Dictionary API:
- Ask the bot to define a word.
- Minecraft Server Status API
- Show all online players on a certain server.
- Maps of the world:
- Ask the bot to show a map of a country or region.
- Random Emoji:
- Ask the bot to pick up to 10 random emojis.
- Flip a coin.
- Roll a dice.
- Guess a number between 1 and 100 for the chance to win
Ponks. - Slap each other to make them drop some
Ponks. - Insert your own character into a copypasta.
- Various gifs and video links.
Schem Slicer
Schem Slicer is a program that slices up .schematic files and turns them into images. A .schematic file is created by third-party programs that can store sections of a Minecraft world. The purpose of Schem Slicer was to provide a much more manageable way to copy and reference parts of a schematic.
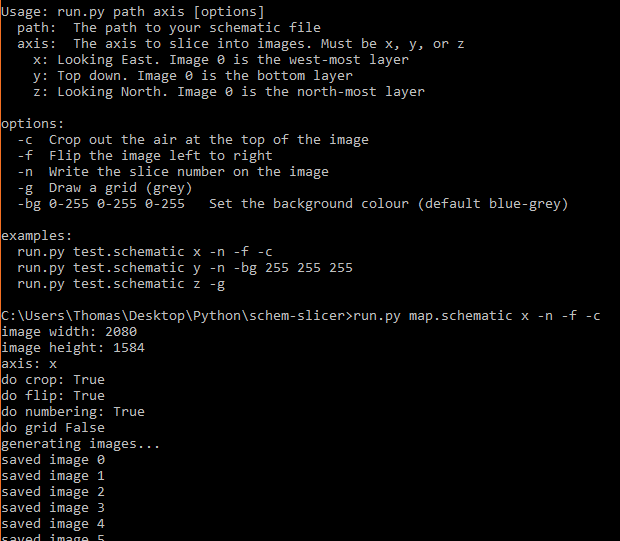
This was the first time I experimented with command line arguments in a program and I ended up adding a few options for the user to use:
- Choose the axis to slice along.
- Automatically crop the image.
- Flip the image.
- Generate the images with its index in the corner.
- Include a grid on each image.
- Change the background colour on the images.
When the program has finished running, the user will be left with a folder full of images depicting the slices of the schematic.
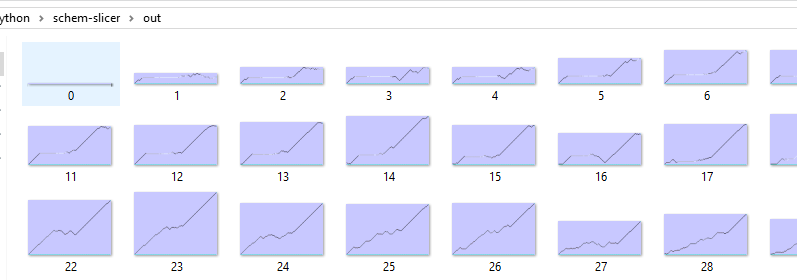
Here is a look at one of the images in its entirety. In this example I used a schematic that when created in-game turns into pixel art (a 128x128 portrait of a friend).
